Edwards Place Fine Art Fair is an art fair in Springfield, IL with live music, 70 artisan booths, food carts, yart sale, beer and wine tents, book sale, and also featuring artisan demos. This year was the second time
Popnicute had a booth over there and we had a good time. So I'd like to say thank you for a great show!
 |
| Sold jewelry at Edwards Place Fine Art Fair (minus a ring that apparently was never photographed) |
First of all, my husband and I got to meet and stay with our friends over there, a lovely couple by the name of Kendra and Jayson. They're excellent sales persons, very friendly, and people enjoyed visiting Popnicute's booth because of that.
 |
| Popnicute's booth at 28th annual Edward's Place Fine Art Fair |
The patrons are great as well. This show is not very big being only 70 artisans are invited. But despite the small scale, the show did draw a lot of visitors who are regulars to the show. Saturday, as always, is busier than Sunday. To me, sales in a Sunday has always been half what I made in Saturday but as I asked other jewelry vendors, especially the ones who sell silver jewelry, sales were better for them on Sunday. So I'm thinking the type of jewelry and price points we sell could be a factor. To our observations, Sunday drew younger crowds and people who sell lower priced items do better on Sundays. A lot of interesting people visited our booth and added Popnicute Jewelry in their collection. There were several ladies wearing an army of bracelets in their wrists who bought Popnicute's
skinny bangles, a nice couple who brought home a
fold formed necklace and a pair of fold formed earrings, bracelets were popular (sold 8 of those), there was a gallery owner and her daughter who had joined custody of their jewelry brought home the salmon skin necklace that was held by
Vince Gill, the country singer, and she was quite pleased by it, and many others. We've got 2 offers to consign and some of the visitors even remembered me from the last show I did two years ago (we couldn't do it last year). How's that for an ego boost?
 |
| Vince Gill and Popnicute Jewelry |
I love it when the visitors show a great interest on the process and the materials. I had quite a few people asked what Argentium Silver is as they read my business cards. I will gladly educate them and share the process of making my jewelry whenever it's asked. I feel it's important for them to know and understand the efforts involved in making them. It made them feel more appreciative for the arts.
 |
| Popnicute's new business cards |
Will I do this show again? Absolutely!
As for my display I basically used what I had with the exception of painting the vintage boxes with creamy grey chalk paint and three new display items. The bamboo spice rack which I bought for displaying cuffs as it turns out it was great for displaying my earring boxes. I glued on cabinet bumpers as feet to stop it from sliding off the table top.
 |
| Spice rack as earring display |
What I used as earring cards above are actually business cards. In the past, I've made my own from kraft cardstock paper sold in hobby stores but they are flimsy and in result, they're curved from the weight of the earrings. Luckily, I found these
business card blanks on Amazon. They came in a box of 100 cards. They're thick and the width is perfect for my earring boxes. They're only 1/2" longer than the box so I scored and fold it then drill holes for the ear wires. It fits nicely inside the box, it doesn't sag, and harder to take out than my old ones which would hopefully prevent those sticky fingers from lifting my earrings.
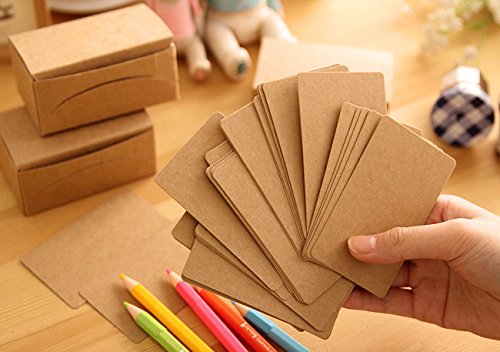 |
| Business card blanks for earring cards |
The newly painted box got metallic champagne faux leather lining. I liked the colors better than the medium brown suede they once had. I think this new color brightened up my booth and show off the jewelry better. Could also be the reason why I sold more jewelry this time around. Look at the pictures below, do you think the bottom photos show an improvement?
 |
| Old display from 2014 |
 |
| 2016 display |
 |
| 2016 display |
 |
| 2016 display |
I've also solved the no electricity problem. Not that it was a problem for this show as the sky was bright on both days but for indoor or when it's darker, where no generator is allowed or any electricity offered it will be useful. Since my
LED clamp lights came with USB connectors, I bought a
20,000 mAh power bank with 4 slots to power my lights. For the whole Saturday from 10 AM - 5 PM or 7 hours, these 4 lights which were lit all the way through only used about half its power. I still charged it at night just in case. Since it's a power bank (battery), it's very quiet and very compact in size. It's a win in my book!
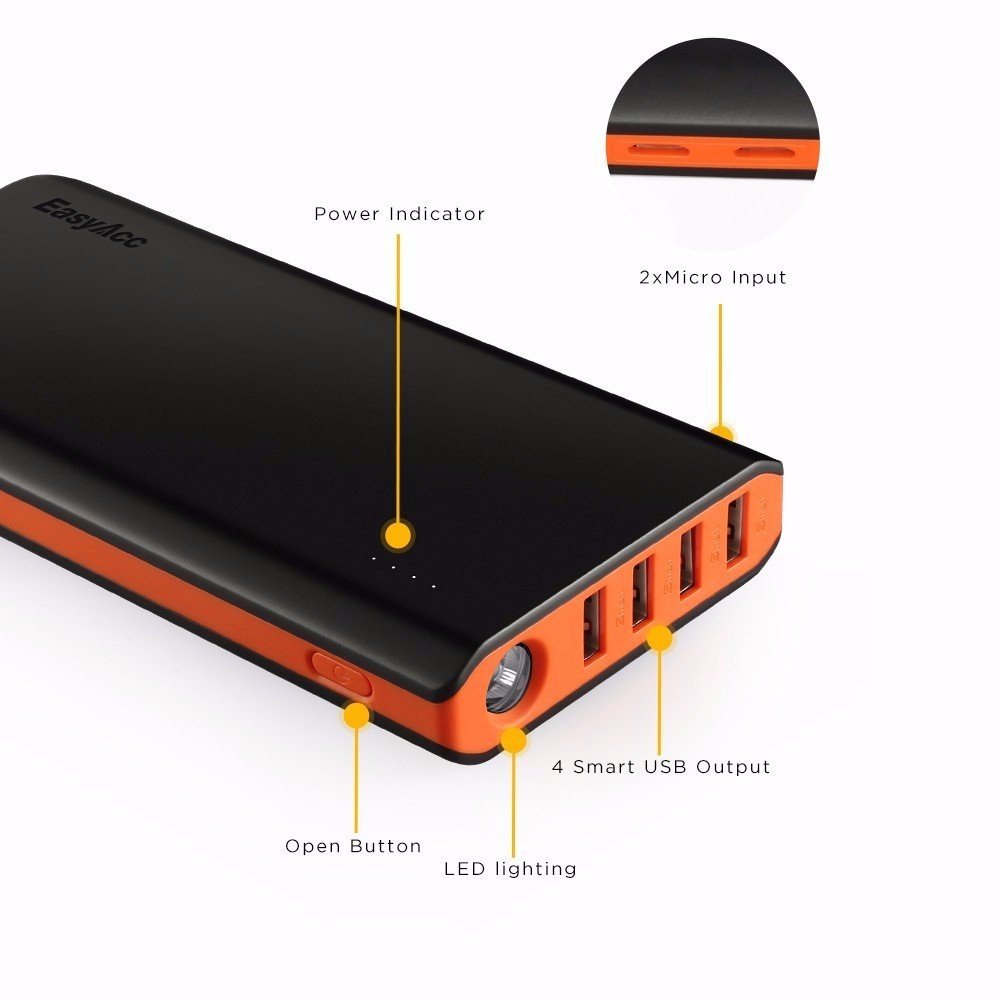 |
| 20,000 mAh power bank |
That's all for today. I hope you enjoyed reading my experience with Edwards Place Fine Art Fair this year!